
 Tiếng Việt
SketchUp
Set Component Axis in SketchUp Automatically
Nov
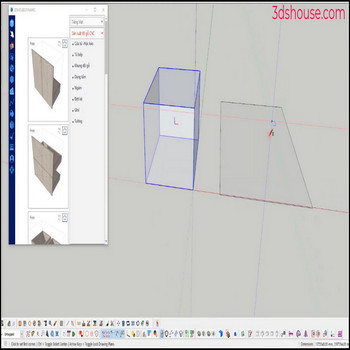
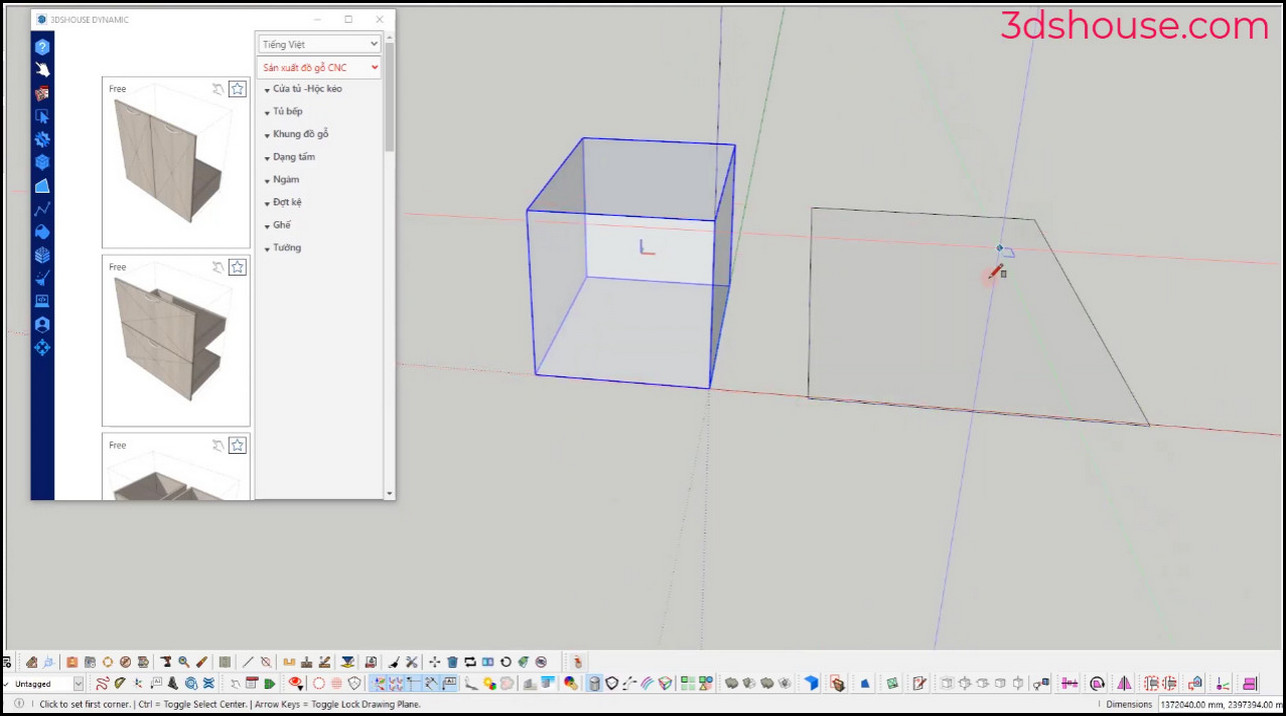
Every group and component in SketchUp carries its own axis origin — separate from the global model axes — and that origin is the component’s insertion point: the exact point that snaps to your Move cursor when you place the component in a model. Resetting that axis is therefore not cosmetic; it decides where the object grabs onto geometry every time it is inserted, copied, or arrayed. The native workflow exists for one object at a time: right-click a component and choose Change Axes, or open a group, right-click an axis line, and use Place, Move, or Reset. That is fine for a single object, but when a scene contains dozens of furniture pieces, architectural components, or imported assets whose origins landed at arbitrary positions, the click-by-click method becomes a bottleneck.
The Object Axis Move plugin (also referred to as the “set axis automatically” tool on 3dshouse) solves this by letting you snap the origin of a selected group or component to a precise geometric reference — a face normal, an edge direction, or the center of the bounding box — with a single click. Instead of entering edit mode, hunting for a corner, and manually dragging the axis widget, you click one point and the origin relocates. The direction of the new X/Y/Z axes aligns to whatever surface or edge you clicked, so the component insertion behavior becomes predictable: place it on a wall face and it snaps flush; place it on a floor and it sits flat. This matters most for dynamic components (where every positional attribute is measured from the origin), for components that will be arrayed along a path, and for imported objects whose factory origin landed at a geometry midpoint or at world zero far from the object.
This tutorial explains the plugin workflow, documents the non-obvious behavior differences between groups and components, and covers the gotchas that experienced users encounter — particularly around dynamic components and multi-object batch workflows.
Key Features
- One-click axis relocation to a clicked point. Select the group or component, activate the Object Axis Move tool, then click any point inside or on the object. The origin jumps to that point immediately — no dialog, no transformation matrix entry. The tool infers the new axis orientation from the surface normal at the clicked face (if you click a face) or from the edge vector (if you click an edge), so the axes are not just relocated but also re-oriented to match the geometry.
- Snaps to face normals and edge directions. When you click a face, the new Z axis aligns with the face normal and the X axis runs along the dominant edge of that face. This means if you click the bottom face of a chair leg, the component’s Z axis points straight down into the floor — insertion will place it upright with no manual rotation. If you click an angled edge, the X axis runs along that edge, useful for components that follow a slope or a custom angle in the scene.
- Works on both groups and plain components. The native SketchUp context menu only offers Change Axes for components, not for plain groups. For groups the only native option is to enter group-edit mode and reposition the axis there, which requires more steps. The plugin operates on groups directly without requiring you to enter edit mode or convert the group to a component first.
- Bypasses the “make component first” workaround. A common native workaround for group axes is: make the group a component, fix the axes via Change Axes, then explode back to a group. Each step adds risk — explode collapses the nesting, and the intermediate component definition persists in the component library. The plugin skips all of that.
- Scoped axis change — does not affect other instances. For a component, changing the axis via the plugin updates the definition’s origin, which means all instances of that component in the model share the new origin. This is the same behavior as Change Axes. If you need per-instance offset, you must make the instance unique first (right-click → Make Unique) before using the tool.
- Undo support. The operation is wrapped in a SketchUp operation, so Ctrl+Z reverts the axis change cleanly. This is important when experimenting with which corner or center point gives the best insertion behavior.
How to Install and Use
- Download the plugin. Get the
.rbzfile from the download link on this page. The file is a standard SketchUp Extension Archive — a renamed zip containing the loader.rband the plugin subfolder. - Install via Extension Manager. In SketchUp, open Window → Extension Manager, click Install Extension, and browse to the downloaded
.rbz. SketchUp will install it and ask you to confirm the author trust level. After installation the extension appears in the Installed list; make sure the toggle is enabled (green). - Locate the tool. After installation, find the tool in the Extensions menu under the plugin’s submenu, or look for the toolbar icon if the plugin registers a toolbar. In SketchUp 2022 and later, toolbars can be shown via View → Toolbars.
- Select the target object. Click a group or component in the scene to select it. You can also select multiple objects with Ctrl+click or a box selection — read the plugin’s tooltip to confirm whether it processes the first selected object or all selected objects, because batch behavior depends on the installed version.
- Activate the Object Axis Move tool. Click the tool from the menu or toolbar. The cursor changes to indicate axis-placement mode. SketchUp’s inference engine is still active, so you will see inference snaps (endpoint, midpoint, on-face) as you hover.
- Click the new origin point. Move the cursor to the point inside the selected object where you want the new axis origin to sit. Click on:
- A face to snap origin to that face and align Z to the face normal.
- An edge endpoint to snap to the exact corner vertex.
- An edge midpoint to snap to the geometric center of that edge.
After clicking, the axis widget in the viewport updates immediately to reflect the new origin position.
- Verify the result. Deselect the object (Escape or click empty space), then select it again and use the Move tool. The Move tool grip point (the default snap during placement) is now at the new origin. To double-check, look at the Entity Info panel — for a component, the insertion point listed there reflects the component definition origin.
- For groups: confirm axis is inside the group. Open the group for editing (double-click) and observe the group’s own axis widget. It should now sit at the point you clicked. Exit edit mode. The origin for the group in the world is the group’s transformation matrix, but the local axis widget position is what the plugin adjusts.
Pro Tips
- Always Make Unique before resetting a shared component’s axis. If a component is used in multiple places in the model and you only want to change the insertion behavior for one instance (for example, a wall panel that appears both as a regular panel and as a corner piece), right-click and choose Make Unique before using the plugin. Otherwise the axis change propagates to every instance of that definition and every placed copy will shift its grip point.
- Dynamic components: re-save the DC attributes after axis change. Changing the origin of a dynamic component re-bases its internal coordinate system. Any DC attribute that references position (X, Y, Z, LenX, LenY, LenZ, RotX, etc.) is measured from the origin. After moving the origin, open the DC options and re-check that position attributes still read the values you expect. For purely parametric DCs (those that only use LenX/LenY/LenZ to scale geometry with no position formulas), axis changes are usually safe. For DCs with explicit X/Y/Z placement formulas, re-test after every axis change.
- Use bounding-box corners for furniture and millwork. When positioning furniture that will be placed on a floor, the most reliable insertion point is the lowest corner of the bounding box — specifically the corner that sits on the floor plane. Clicking that corner with the plugin means every future placement lands the object flush on whatever face you drop it onto, with no offset correction needed. Compare that to the default axis at world origin, which requires nudging every placed instance down by the object’s height.
- Combine with the native axes tool for fine-tuning orientation. The plugin sets the origin point and infers axis orientation from the clicked geometry. If the inferred orientation is close but not exactly what you need (for example, you want the component’s X axis to point north in the model rather than along the nearest edge), use the native Change Axes (for components) after the plugin run to fine-tune the rotation without moving the origin again.
- Batch workflow: process all instances of the same definition together. If you have imported an OBJ or DWG that created many separate groups with misplaced origins, select all of them (Filter Selection or Edit → Select All with the same type), then run the plugin once and click a consistent reference point — for example, always click the bottom face. This gives all objects the same local axis orientation, which is critical if you later array them or align them with Follow Me or the Move + copy workflow.
System Requirements
- SketchUp version: SketchUp 2022 or later (2022, 2023, 2024, 2025)
- Operating system: Windows 10/11 or macOS 11 Big Sur and later
- Installation method:
.rbzvia Extension Manager — no command line required - Dependencies: None — the plugin uses only the SketchUp Ruby API included with SketchUp
How to Set Component Axis in SketchUp Automatically — Tutorial Video
-
- Set axis in SketchUp automatically