Blender
Blender Logo to 3D: Turn a PNG or SVG Logo into a Model
A flat logo becomes a usable 3D model in four moves: get clean geometry into Blender, give it real-world size, give it thickness, and keep the colours as separate materials. Everything here was run in Blender 5.1.1 and checked against the Blender manual.
1. Start from clean geometry
The best input is a vector logo where every shape is a plain filled path: text converted to outlines, no gradients, holes cut out as compound paths. Blender’s SVG importer reads paths only, so text, embedded images and gradients do not arrive. If an import misbehaves, the Blender SVG import guide lists each cause with its fix.
A PNG or JPG has no geometry to import. See the last section.
2. Import and set the real size
- File → Import → Scalable Vector Graphics (.svg). Each path is a curve object, with one material per solid colour.
- Press numpad . (View → Frame Selected). Imported artwork is small: an 80 px square measured 22.6 mm, about 0.28 mm per SVG pixel.
- Select all the logo objects and type the real width in Dimensions (sidebar N, Item tab). Select them together so one scale factor covers every colour.
- Object → Apply → Scale. Extrude and bevel are measured in the curve’s own units, so apply the scale before setting thickness.
3. Thickness: curve route or mesh route
Curve route: extrude and bevel
Best when you want a smooth rounded edge and may still edit the outline.
- Select a curve, open Object Data properties → Geometry.
- Extrude goes both ways along local Z (manual). Measured result: total thickness = 2 × Extrude + 2 × Bevel Depth. For a 4 mm logo with a 0.5 mm bevel, set Extrude to 1.5 mm and Bevel Depth to 0.5 mm.
- Bevel → Depth rounds the edge and grows the outline by that depth on each side, so it adds 2 × Depth to the width and height. Raise Resolution a few steps for a smooth profile.
Keep Shape → Dimensions on 2D. In the test a 3D curve extruded into side walls only, with no top and bottom faces.
Mesh route: convert, then Solidify
Best for modelling, Booleans, sculpting or anything that needs a mesh.
- Object → Convert → Mesh. The manual notes that faces from closed curves are kept.
- Add a Solidify modifier and set Thickness. In the test, a thickness of 0.002 gave a 2 mm tall object from a flat logo.
- Add a Bevel modifier if you want edges softened.
You can also convert a curve that already has Extrude and Bevel set: Convert to Mesh keeps the faces and volumes of closed, extruded curves, so the shape stays as it looked in the viewport.
4. Keep the colours as separate materials
The importer gives every solid fill its own material (a Diffuse BSDF in the test), and every path its own object, so the logo is already split by colour. Keep it that way:
- One object per colour makes recolouring one click and lets you hide or export a colour on its own, which suits multi-colour printing or per-colour animation.
- Rename the objects and materials after the brand colours (for example
Logo_Red) before you duplicate anything. - For realistic renders, change the Diffuse node to a Principled BSDF in the Shader Editor and keep the base colour.
- Use Object → Join only when you want a single mesh, and accept that the materials stay as slots on it.
Lettering and wordmarks
If the logo has a wordmark and you are rebuilding the lettering in Blender instead of importing it, a text object can be turned into a curve with Object → Convert → Curve (manual). From there it follows the same steps: Extrude and Bevel Depth on the curve, or Convert to Mesh and Solidify.
Three mistakes that waste an afternoon
- Setting thickness before applying scale. The depth you type is multiplied by the object’s scale, so a logo that looks right at 1.0 comes out thicker or thinner after you resize it. Apply the scale first, then set Extrude and Bevel Depth.
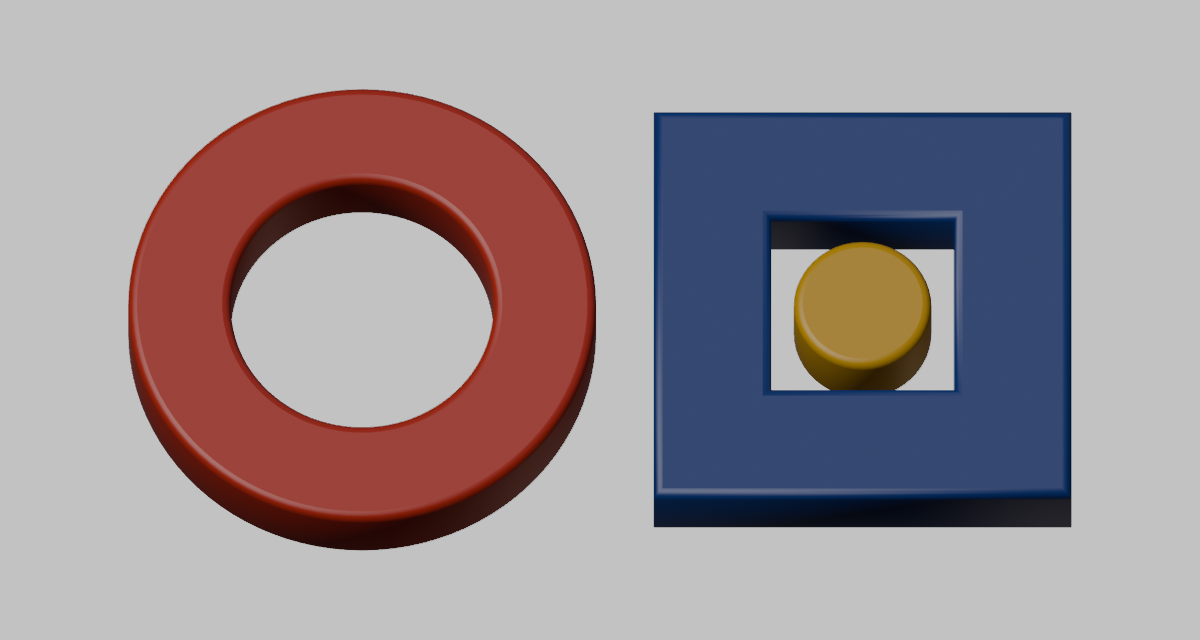
- Trusting a fake hole. A white shape laid over a solid shape imports as two solid objects. Extruding them gives a plate with a raised white plate, not an opening. Fix the artwork, not the Blender settings.
- Using a gradient or stroke logo as is. Gradients arrive without a material and strokes arrive without a face. Flatten the colours and outline the strokes in the vector editor first.
5. Before you export or print
| Check | Why |
|---|---|
| Dimensions show the real size | The importer’s default is far from physical size |
| Scale is applied (1, 1, 1) | Thickness and bevel behave, exporters read correct units |
| Holes are open, not covered by a white shape | A faked hole becomes solid in 3D |
| Every colour is its own object and material | Recolouring and per-colour export |
| Thin parts are thick enough for the process | Depends on your printer or material, check its minimum |
If the logo is only a PNG or JPG
A raster logo has no paths, and a trip through a vector editor just to reach step 2 is slow for flat artwork. Tracepen is a Blender add-on that traces the picture inside Blender and writes curves or meshes, one object and one material per colour, with no SVG step. Open Image, press Vectorize, choose Mesh or Curve as the output, then continue from step 3 above. Set the size of the image preview before you trace: the result inherits its transform. The add-on has a free tier with a colour limit and Pro beyond it, which suits logos with a handful of flat colours; the details are on the Tracepen for Blender page, and this comparison puts it next to the other trace add-ons.