Tiếng Việt
SketchUp
Auto Reverse Faces SketchUp — Fix Wrong Normals in One Click
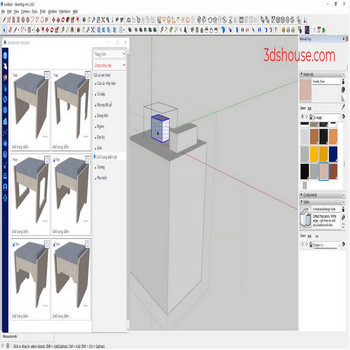
When many faces of the group are reversed in SketchUp, if you fix them manually, you have to reverse each side, so it takes a long time to do this, so use an automatic tool. In SketchUp, every face has two sides: the front (white) and back (blue), and the convention is to keep the white front facing outward and the blue back facing in. The trouble is that SketchUp’s own context-menu Reverse Faces only flips what you have selected, and Orient Faces floods from one correct face but stops dead at any edge that isn’t cleanly shared between two coplanar faces — so on imported, exploded, or messy geometry it leaves random blue faces behind. An automatic reverse faces tool walks every face in the SketchUp group and flips only the inverted ones in a single pass, which is why it is far faster on a whole group.
Getting this right is not just cosmetic. 3D-print slicers read a reversed face as a hole or as inside-out wall, so a model that looks fine on screen can fail to be watertight on export, and most render engines (V-Ray, Enscape, etc.) shade SketchUp faces single-sided — a back face often renders as a black hole or simply drops the material you applied to the front. Fixing orientation before you texture or export saves a lot of rework. Note this is still SketchUp 2026 behavior; the front/back face model has not changed across versions.
Auto Reverse Faces in SketchUp — Video Tutorial
Steps by steps:
- Select the SketchUp group containing the reversed faces — click the auto reverse faces tool
- All faces are quickly reversed