
 Tiếng Việt
SketchUp
Multi face offset in Sketchup automatically
05
Jan
Jan
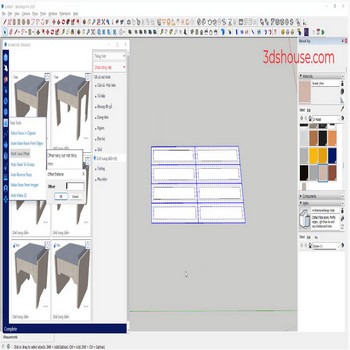
When working with multi face objects that need offset , for example, door systems, to offset each face in default sketchup, take a long time, don’t do it, use auto tool
As of SketchUp 2026, the native Offset tool still works on only one face (or a single chain of connected coplanar edges) at a time — there has never been a built-in “select many faces and offset them all” command, which is exactly the gap a multi face offset tool fills.
Video tutorial:
Steps by steps:
- To offset each face in default sketchup, take a long time, don’t do it, use auto tool
- Select all faces to be offset – click Multiface offset tool – enter offset parameter
- All sides are quickly offseted
Things worth knowing:
- Sign of the offset value matters — a positive distance offsets inward (toward the face interior) and a negative value pushes the loop outward past the original border, which is what you usually want when building a frame profile around door panels.
- The native tool is also picky about geometry: it refuses to run on a non-planar face and will silently stop at the first vertex where the offset would self-intersect, so very thin members or tight corners get clipped. A batch multi face offset tool sidesteps the manual one-by-one repetition but is still bound by the same per-face planarity rule, so triangulate or flatten warped faces first.
- After offsetting many faces at once you often get co-planar slivers and stray edges along the seams. Cleaning those up with a soften/smooth edges pass keeps the result tidy before you Push/Pull the new loops into depth.
