
 Tiếng Việt
SketchUp
Delete All Materials in SketchUp: Reset to Default in One Click
18
Jan
Jan
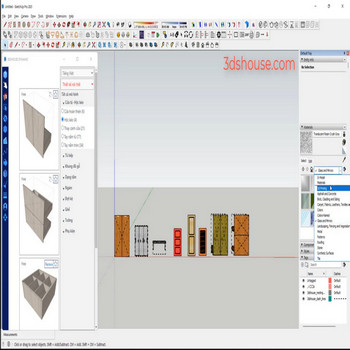
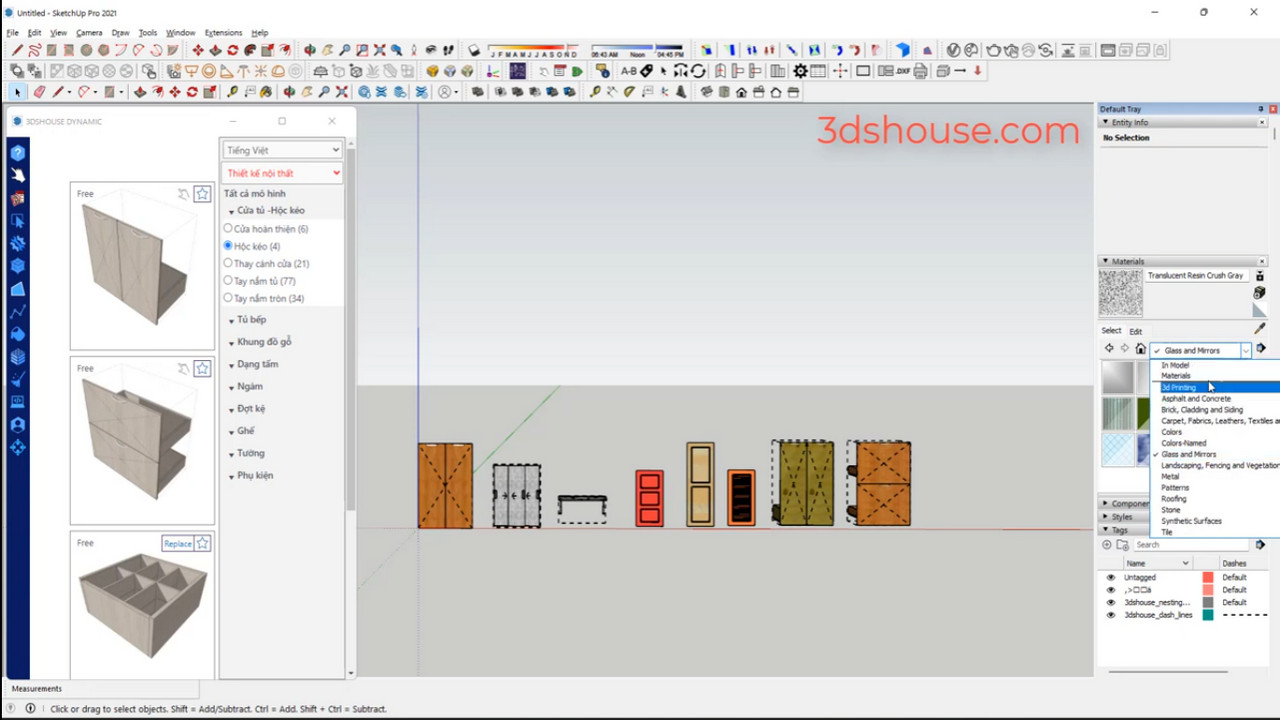
The materials applied to your SketchUp objects all live in the Materials panel under the In Model tab. Instead of removing them one by one, you can delete all materials in SketchUp in a single action with the delete all materials tool — the selected geometry falls back to SketchUp’s default front/back material.
How to Delete All Materials in SketchUp and Reset to Default — Video Tutorial
Steps by steps:
- Select all objects – click material tool – delete all materials to reset SketchUp faces to default

Delete material tool
Good to know
- Removing a material from a face is not the same as deleting it from the SketchUp model. Even after you repaint everything back to Default, the old materials still sit in the In Model list (and keep bloating your file size). To actually drop them, open the Materials panel, go to the In Model tab, click the Details arrow and choose Purge Unused — or use Window > Model Info > Statistics > Purge Unused.
- Purge Unused has no undo, so anything you purge by mistake must be recreated by hand. SketchUp does not back purged materials up.
- A material won’t purge while it is still attached to any component or group present in the model — even a hidden or unused-looking one. That’s why Statistics > Purge Unused clears unused components first; once they’re gone, the materials they carried finally count as unused and can be removed.
- SketchUp’s Default material is two-sided. Resetting a face to Default through the paint bucket only swaps the side you click on, so a face can end up with Default on the front but a leftover material on the back. If colors won’t fully reset, flip the face (or reset back faces) and reapply Default.
Since 2020 SketchUp ships as a named-user subscription rather than a perpetual license, with SketchUp 2026 the current version, but the material/purge workflow above is unchanged across recent releases and also works in the free web edition.