
 Tiếng Việt
SketchUp
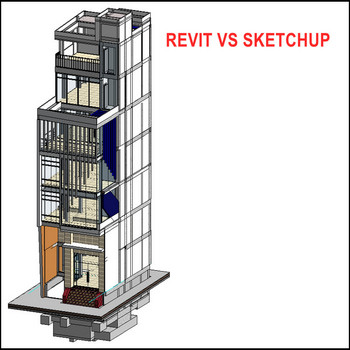
Export Revit to SketchUp via DWG: ACIS vs Polymesh Guide
Sep
Revit for exterior design, SketchUp for interior — here is the complete workflow to export Revit models to SketchUp via DWG
How to Export Revit to SketchUp via DWG — Video Walkthrough
Steps by steps:
- Open Revit – file- export- cad formats – dwg click, chose solids – ACIS solids
- 2 options: ACIS solids (group for one component), polymesh (group for all model)
- Save file – remember where to save the file
- Open Sketchup – file – import – your file import
- You can set easy materials for model

Revit to Sketchup

The two big picks in the Revit to SketchUp DWG export aren’t really ACIS vs polymesh quality — they’re how the geometry lands in SketchUp. ACIS solids come in as separate, nested groups/components you can double-click into and edit; polymesh dumps the whole model as one loose triangulated mesh that’s painful to clean up. For interior work where you’ll be deleting walls and re-texturing rooms, ACIS is almost always the right choice.
Two things trip up most people on this workflow:
- Revit only exports what is visible in the active 3D view. Whatever is hidden, on a turned-off workset, or outside the section box simply won’t appear in the DWG — so isolate the rooms you actually need (and hide MEP/structure clutter) before exporting, both to keep the file usable and to avoid a multi-hundred-MB import. Before that step, if sheet numbers or parameter values need cleaning up, Metasheet can batch-edit them inside Revit without opening Excel.
- Match the import Units when importing your Revit DWG into SketchUp — this is the single most common cause of a model coming in 12× or 1000× too big or too small. In SketchUp’s import dialog hit Options and set Units to match the CAD file rather than trusting the default.
After the import lands, turn on Merge Coplanar Faces in the import options to strip the diagonal triangulation lines off flat walls and floors — ACIS curved surfaces always come in heavily tessellated, and without this you’ll be erasing edges by hand. Also expect every Revit family to arrive as a component tagged with a CAD layer name, so the model is editable but the component/tag list will be messy until you purge unused ones (Window → Model Info → Statistics → Purge).
One workflow note for 2026: SketchUp is now a named-user subscription (no perpetual desktop license since 2020), and the current release is SketchUp 2026. The DWG import path described above works the same across recent versions, and there’s no native Revit-to-SketchUp link — DWG remains the practical bridge.