Figma
Figma Trace Image: Turn a Raster Logo into Clean, Editable Vectors
A raster logo becomes a clean, editable vector in Figma in six moves: prepare the image, trace it, choose the colour count, clean up the result, flatten or outline what needs it, and export SVG. This guide uses the Tracepen plugin as the worked example, and notes where Figma’s own Vectorize command does the same step. For the question of what Figma can do natively, see Can Figma convert a PNG to SVG?
1. Prepare the image
- Use the largest original you have. Tracing follows pixel edges, so a 200 px thumbnail gives wobbly curves. Figma’s own help for Vectorize says complex or low-resolution images may not vectorize well and points to Remove background and Boost resolution.
- Prefer PNG over JPEG. JPEG compression leaves faint speckle around edges that a tracer can read as extra shapes.
- Remove a background you do not need so it does not become a shape of its own.
2. Trace
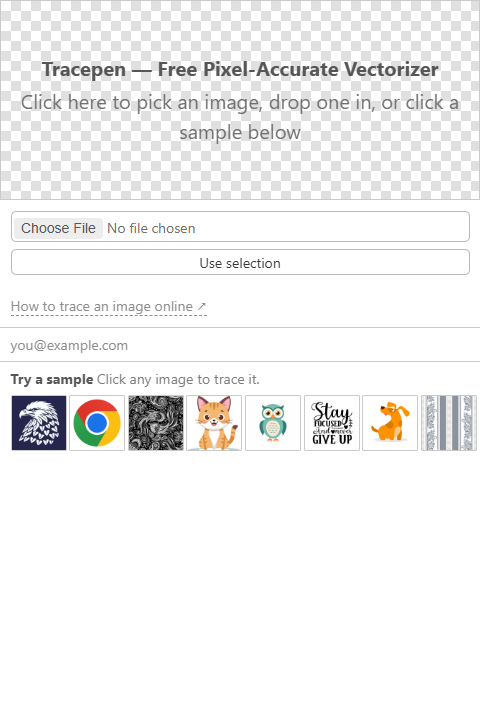
With the Tracepen plugin open, select the logo layer on the canvas and press Use selection. The plugin exports the selected node as a PNG and traces that. You can also pick a file in the panel. Tracing runs in the panel, so wait for it to finish before changing settings.
With Vectorize instead: select the image, More, Vectorize, and refine in the Recolor settings. Details: Figma help.
3. Choose the colour count
This is the setting that decides how clean the result looks.
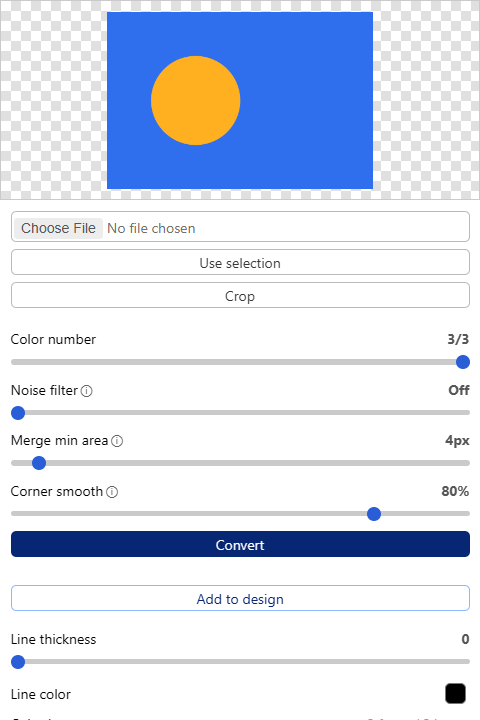
- In Tracepen the slider is Color number. Set it to the number of flat colours the logo really has. Too high, and anti-aliased edge pixels become thin extra shapes. Too low, and two real colours merge.
- The Color Layers list shows each colour as a layer you can tick or untick. A logo on a white background shows the white as a layer of its own: untick it if you want a transparent result.
- In Vectorize the matching controls are Number of colors (Full color), Number of grays (Grayscale) and Threshold (Black and white).
The free tier of Tracepen has a limit on how many colours one export may have; Pro goes beyond it. A one- or two-colour logo is the typical case that stays within it.
4. Smooth and filter
Tracepen has two further sliders. Noise filter removes tiny specks, which helps with JPEG-sourced logos. Corner smooth sets how much corners are rounded into curves: keep it low for geometric logos with hard corners, higher for organic shapes. Change one slider at a time and trace again, so you know which one made the difference.
5. Add to design and clean up
- Press Add to design. The result is placed at the centre of your viewport as real vector layers (a frame of vector paths), not as an embedded image. If you are signed out, the plugin asks you to sign in with a 3dshouse account at this point and then continues.
- Zoom in to 400 percent and check corners, thin strokes and small counters (the holes in letters such as a, e, o).
- Delete leftover specks. Select the layers that belong together and use Flatten (Alt+Shift+F on Windows, Option+Shift+F on Mac) to merge them into one vector layer. Figma documents Flatten as a destructive action: layers cannot be separated again, but Ctrl/Cmd+Z and version history restore them (Flatten layers). Keep a copy of the unflattened result first.
- If any shape still carries a stroke, use Outline stroke (Ctrl+Alt+O on Windows, Command+Option+O on Mac) so it becomes a filled shape. After that the stroke properties can no longer be changed (Convert strokes to vector paths).
- Rename the layers after the brand colours before you hand the file on.
6. Export SVG
Select the result and add an SVG export in the Export section of the properties panel. Two export settings matter here, both documented on Figma’s export page: Outline text converts text layers to glyphs so the lettering cannot be edited or substituted afterwards, and Simplify stroke is on by default for vector networks with an inside or outside stroke. If you outlined your strokes in step 5 there is nothing left for it to simplify.
Pitfalls
| Symptom | Likely cause | Fix |
|---|---|---|
| Fuzzy halo of tiny shapes at the edges | Anti-aliased pixels read as colours | Lower the colour count, raise the noise filter |
| Speckle inside flat areas | JPEG noise | Start from the PNG, or raise the noise filter |
| Thin lines vanish or break | Noise filter removed them, or the line is about one pixel wide | Lower the noise filter, start from a larger image |
| Gradient turns into bands | A tracer outputs flat colour regions | Raise the colour count a little, or rebuild the gradient in Figma |
| Wobbly straight edges | Low-resolution source | Larger source, or redraw the shape with Figma’s shape tools |
When tracing is the wrong tool
- Photographs. They have no flat regions; a trace is a posterised approximation, not an editable drawing.
- Very small or very blurry sources. Redrawing a simple logo with Figma’s shape and pen tools is often faster than cleaning a bad trace.
- Logos you can get as a vector from the brand. Ask for the SVG or PDF first; it is the exact original.
- Gradient-heavy artwork. A trace turns smooth fades into flat regions.
More on the plugin: Tracepen for Figma. Other plugins are compared in this overview.